When we first developed our “Perfect Focaccia” recipe, we suspected our readers would love it. But what we didn’t foresee was how many requests we’d get for a sourdough version of the recipe. Cue: our version of sourdough focaccia.
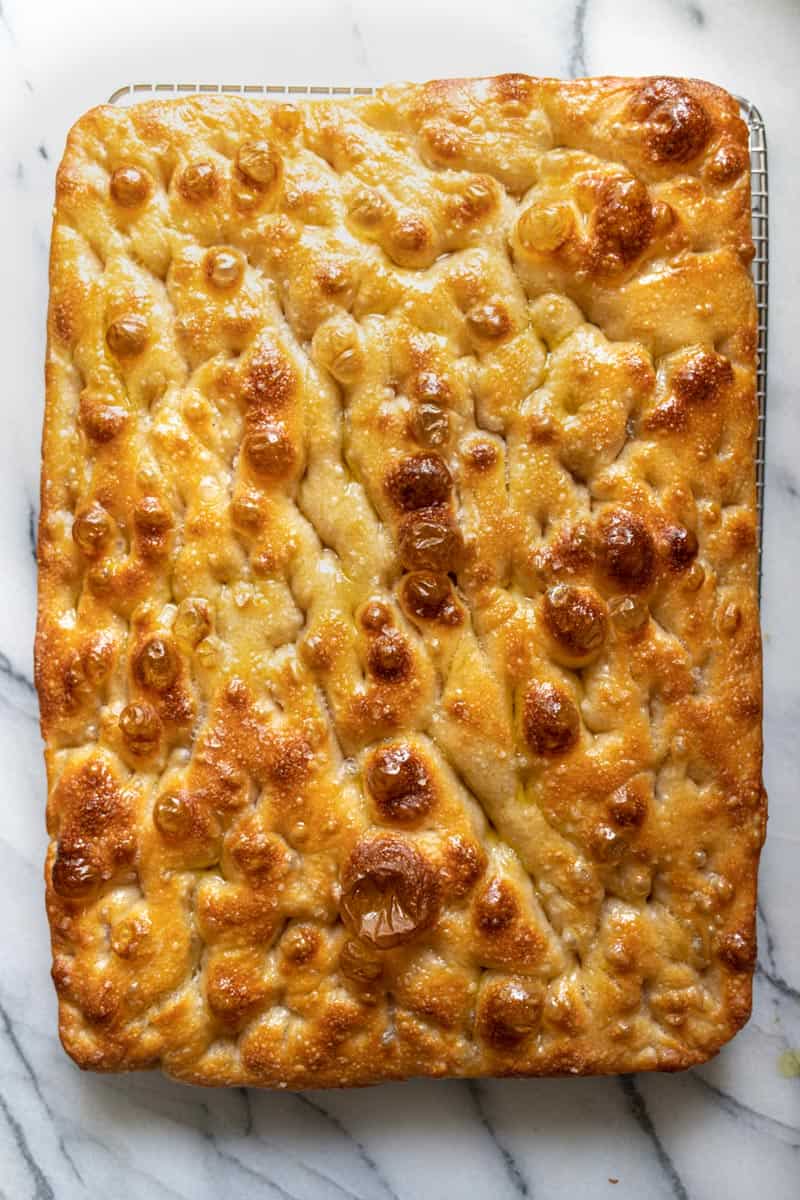
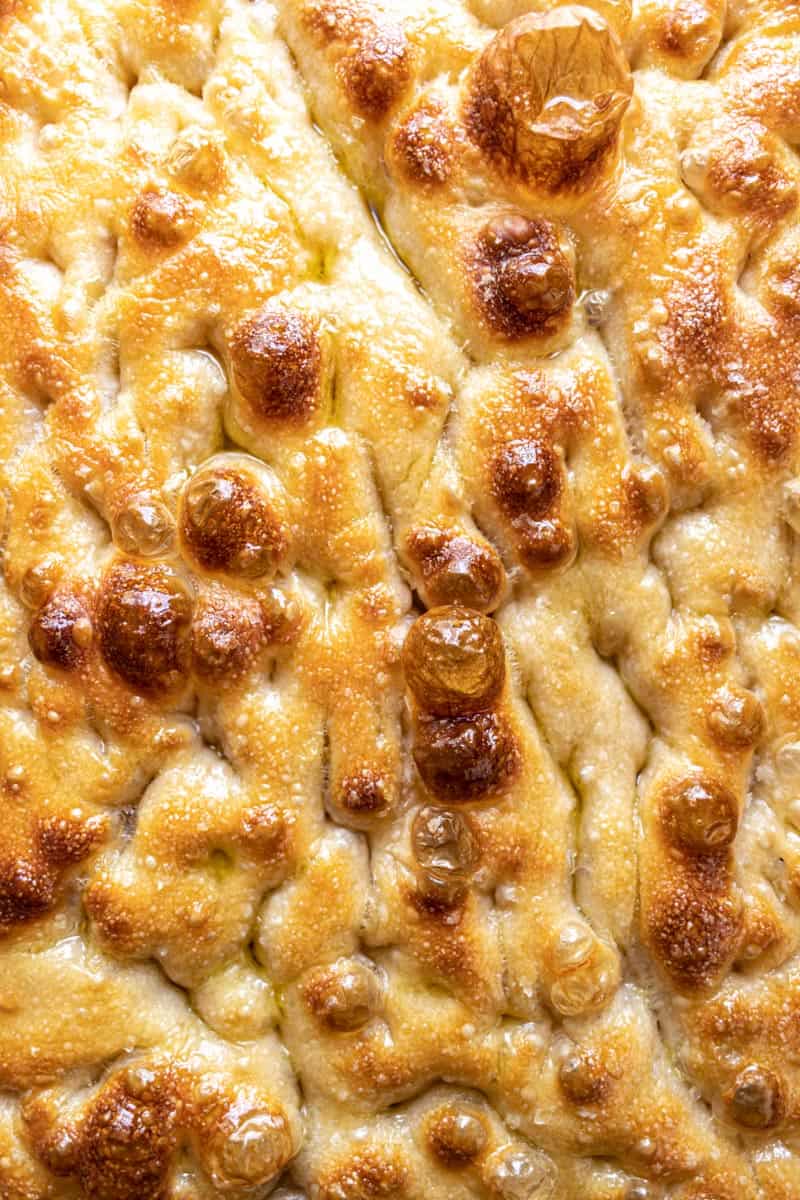
This recipe has everything we love about authentic Italian focaccia and sourdough in one recipe- amazing depth of flavor, a fluffy and delicate interior paired with a wonderfully chewy and almost crunchy exterior, and lots of extra virgin olive oil.
How To Make Focaccia With Sourdough Starter
First and foremost, we do not recommend this recipe to bakers without previous sourdough experience. The process of maintaining a healthy sourdough starter and being able to comfortably bake with it comes with practice and lots of trial and error. If you’re new to baking with sourdough, we recommend testing out a few standard, beginner recipes before diving into this one.
This sourdough focaccia recipe isn’t terribly different from our standard focaccia recipe, but there are a few key differences:
- Rather than using commercialized yeast, like the yeast you see in the baking aisle of the grocery store, you’ll be using an active sourdough starter as your leavening agent. To make this recipe you’ll need to have a basic understanding of what an active sourdough starter is and how to make one (see our recipe notes for more on this). If you don’t have your own sourdough starter, check with your local bakery to see if they sell theirs, as this is common practice for many baking establishments.
- The rise times for this recipe differ significantly from our original focaccia recipe. For example, while our original recipe completes its bulk fermentation (that’s the majority of the rising time) in just 2-3 hours, it typically takes 5-8 hours for the same in our sourdough focaccia recipe. And in contrast, while we insist on a cold, slow rise in the refrigerator for our commercial yeast recipe, we found this wasn’t necessary for our sourdough version unless warranted by timeline constraints (see full recipe for details) or an extra tangy flavor was desired.
- After testing several versions of sourdough focaccia, we concluded that using the same brine we use in our original recipe made it more difficult to achieve a crispy, golden brown exterior when baking with sourdough so we decided to omit it completely.
- Lastly, while this recipe still has everything we love about focaccia in terms of texture and flavor including a nice crispy exterior and a wonderfully fluffy interior, there’s a little bit more of everything with this recipe– more depth of flavor, more chew, more satisfaction once you master each batch, and more health benefits than in your standard loaf.
Sourdough Focaccia: Tips & Tricks
If you’re taking your first stab at this recipe, here are a few tips and tricks that will set you up for success:
- Measure by weight. This recommendation goes for all baking but especially when it comes to sourdough. For best results, pull out your trusty kitchen scale and refer to the grams indicated in the recipe, rather than hoping your measurements are 100% accurate.
- Check your room temperature. This recipe was developed in a kitchen with an ambient temperature of approximately 70°F. If your kitchen is warmer, rise times may be shorter, and if your kitchen is cooler, rise times may be longer. If there’s a place in your home that runs warm, there’s no shame in letting your sourdough do its thing there during rise times to slightly expedite the process.
- Use your starter at its peak. Make sure that the sourdough starter you’re using for your focaccia is active and at its peak. If you wait too long after it has been fed and doubled in size, you may have less-than-ideal results.
- Refrigerate if needed. Although we do provide a sample timeline for this recipe, if you need to press pause on your breadmaking process, you can comfortably do so after the bulk fermentation is completed and keep it in the refrigerator for up to two or even three days. Be warned– the longer your dough sits in the fridge, the tangier it will taste (some people love this, while others do not), and the dough may start to deteriorate after 72 hours.
- Don’t skip the autolyse. This is when the flour and water mixture sits for 30 minutes in the beginning and encourages enzymes to begin gluten development. The stretch and fold series shouldn’t be skipped either and is completed to strengthen your dough which further develops the gluten in your dough. #teamgluten
If you’re feeling overwhelmed at any point in examining this recipe, we recommend checking out our original focaccia recipe, which is a much simpler way to make a loaf of equally delicious bread.
Sample Timeline
10:00 pm (Night Before)- Feed Starter
7:00 am- Make Dough/Stretch & Fold
9:00 am- First Rise/Bulk Fermentation
2:00 pm- Second Rise
5:00 pm- Dimple & Bake
More Focaccia Recipes
- Perfect Focaccia (uses commercial yeast)
- Table X Sourdough Focaccia (uses commercial yeast & sourdough)
Sourdough Focaccia
Ingredients
- 708 grams (3 cups) room temperature water
- 200 grams active sourdough starter*
- 910 grams (6.5 cups) bread flour
- 2 tablespoons Diamond Crystal Kosher salt**
- 1/2 cup high quality extra virgin olive oil, plus more as needed
- 1 tablespoon butter
- 2 tablespoons flake salt or fleur de sel for finishing
Instructions
Make The Dough/Autolyse (1 hour)
- In a large bowl combine the room-temperature water and active sourdough starter, swishing the starter around with one hand until it has practically dissolved into the water. Add the bread flour and using the same hand, mix together the water/starter mixture and the flour until all of the flour is completely absorbed into the dough. Squeeze the dough with your mixing hand to ensure everything is incorporated and there are no traces of flour. Let the dough rest for 30 minutes.
- Add the salt to the rested dough and combine as you did with the bread flour and water, squeezing and pinching the dough with your mixing hand to ensure all the salt is incorporated. Let rest for an additional 30 minutes.
Stretch & Fold The Dough (30-60 minutes)
- Wet your mixing hand with a little bit of water and stretch the dough by putting your wet hand underneath a portion (about half) of the dough, pulling and stretching it up as high as it will go without tearing, and folding it over on top of itself to the opposite side. Repeat this motion 4-6 times, rotating the bowl 45 degrees each time, until the dough can no longer easily stretch.
- Let the dough rest for another 30 minutes and repeat this process at least once more or up to three times total.
First Rise/Bulk Fermentation (5-8 hours)
- Oil a large food container or bowl with 2 tablespoons of extra virgin olive oil, using your hand to rub it along the bottom and sides to make sure it's evenly distributed, and transfer the stretched/folded dough to the oiled container or bowl. Drizzle roughly 1 tablespoon of the oil on top of the dough and cover tightly with a lid or plastic wrap.
- Allow the dough to rise until doubled in size*** (usually about 5-8 hours in a kitchen with an ambient temperature of approximately 70°F).
- Using your hand or the butter wrapper, spread the tablespoon of butter all along the bottom and sides of your standard half sheet pan. Add two tablespoons of extra virgin olive oil to the buttered pan and spread around with your hand, making sure the entire surface and sides are coated with the oil.
- Empty the dough onto the oiled pan, and carefully stretch the dough to the edges of the pan. Once the dough cannot be stretched anymore, allow it to rest for 10-15 minutes. Once rested, carefully stretch the dough again until it reaches the perimeter of the pan on all four sides. Cover the pan with a plastic baking sheet cover or wrap with greased plastic wrap (spray the inside surfaces of the plastic wrap with cooking spray to avoid sticking).
Cold Rise (Optional, up to 72 hours)
- If you plan to bake your focaccia the next day due to time constraints or you prefer to develop a more tangy, complex flavor, place your covered focaccia in the refrigerator overnight or for up to 72 hours.
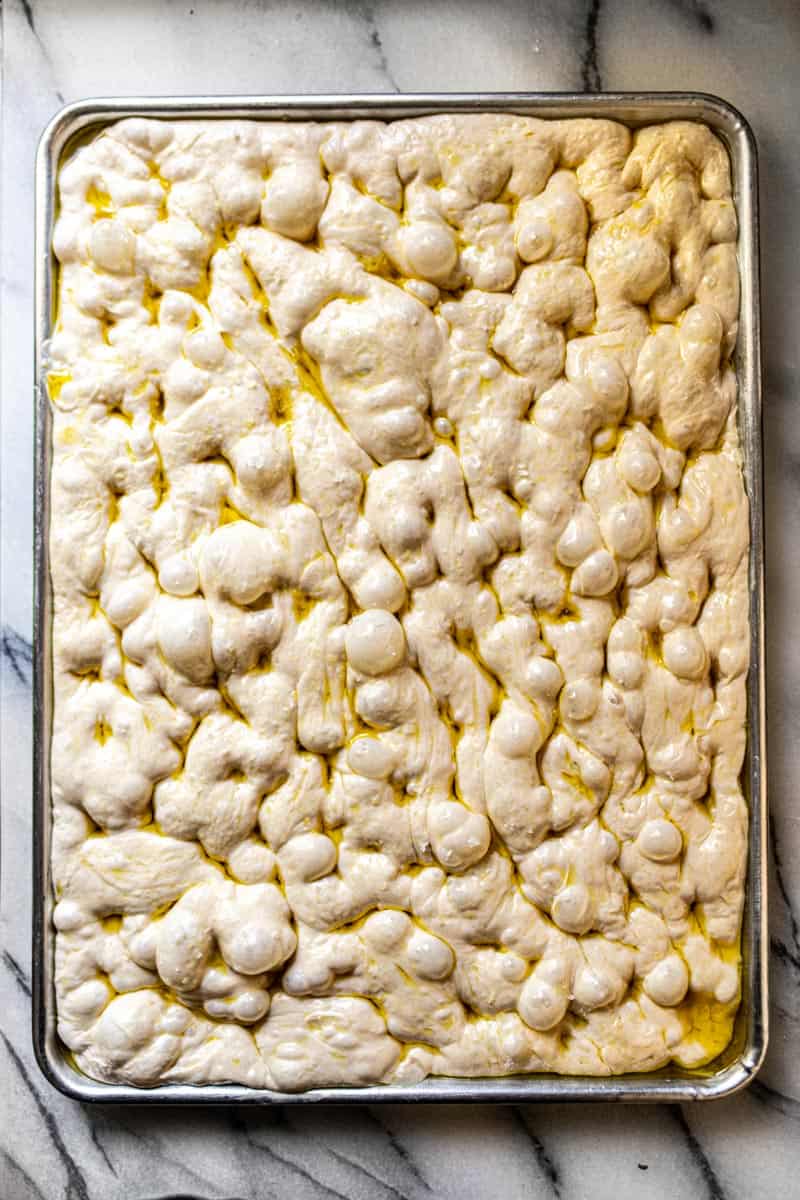
Second Rise (2-4 hours)
- Let dough rise in the pan until it has reached the top of the sides of the half sheet pan, about 2-4 hours. When the dough is done rising preheat oven to 450°F for 30 minutes with the rack positioned in the middle. If you completed the cold rise step, the second rise may take an additional hour or two depending on the temperature of your home.
Dimple & Bake (1 hour)
- Coat the dough with 2 tablespoons of extra virgin olive oil and spread across the surface of the dough with oiled hands. Using your index, middle, and ring fingers on both hands, press deeply into the surface of the oiled dough, creating dimples over the entire pan of dough (don't be afraid to press deep into the bottom surface of the pan).
- Sprinkle the dimpled dough with finishing salt and place in the oven to bake for 30-40 minutes, or until the top, bottom, and sides are deep golden brown color. Remove from the oven and immediately using a sturdy metal spatula, release any areas on the bottom or sides of the pan that may have stuck. Carefully transfer the focaccia to a cooling rack. Brush the top of the focaccia with 1-2 tablespoons of extra virgin olive oil. Allow focaccia to cool completely and slice with a serrated knife when ready to serve.
Equipment
- 1 rimmed, standard half sheet pan
Notes
Did you make this recipe?
Tag @femalefoodie so we can see what you’re cooking!

Layne Schwabedissen
Legitimately delicious! I lived in Italy for a couple years and returned a few times too. Is there anything better that warm, focaccia with fingertips wet with olive oil after eating? I think not. This is a fabulous recipe and relatively easy to follow. I didn’t have the salt recommended so I used a couple teaspoons Redmond salt. I don’t understand why the recipe calls for the half sheet pan bc I had plenty of dough that would overwhelm that size so I used a standard cookie sheet pan. Ate with fresh mozzarella and salame, just like my favorite street side sandwich shop in Firenze (due fratelli) and it tasted just as good. Grazie!
Brooke Eliason
Hi Layne! Thank you so much for the thoughtful comment! A standard half sheet pan technically is the same size as a standard cookie sheet pan- you’re probably thinking we were referring to a quarter sheet pan but the standard half sheet pan is indeed the right size. So glad you enjoyed, and the mozzarella and salame sounds like an amazing combo with this! Prego. 🙂
Ashley
Oh. My. Word. I thought I liked focaccia. Wrong. I LOVE this sourdough focaccia! This is so stinking delicious. And easy! It takes awhile, but most of that is passive as the dough develops. I can’t wait to make this again.
Brooke Eliason
Thank you Ashley! So glad to hear that you liked it. It’s 100% our new favorite way to bake with sourdough.
Karli Siscoe
Made this for the 1st time and it was delicious! A lot of steps and time go into making this but it was worth it in the end. I started it late morning and ended up having to do the overnight in the fridge bulk fermentation. Next time I will start it the night before(feeding my starter) so I can see if it is less sour. I liked the sour taste but might like it less sour, more. It made a huge pan of bread so I had enough to share
Brooke Eliason
Thank you so much Karli- appreciate your feedback and agree that feeding starter the night before is the best way to go. Thanks again!