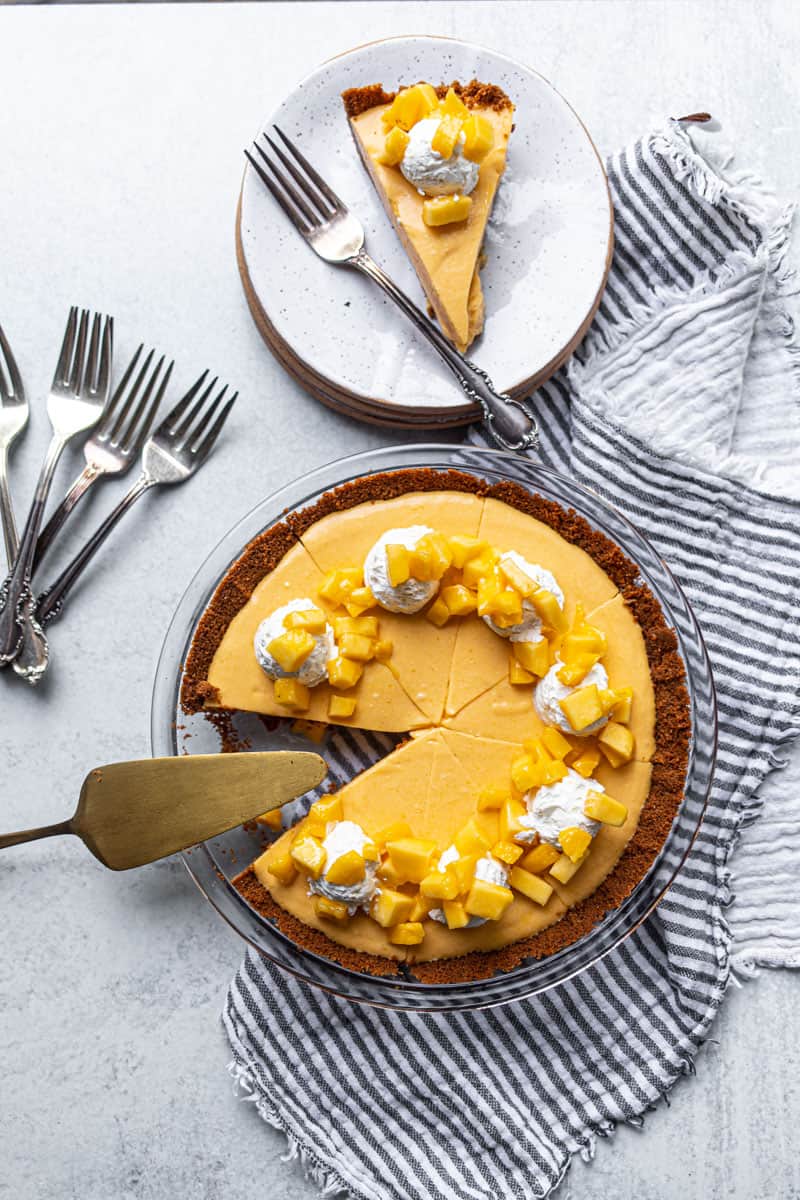
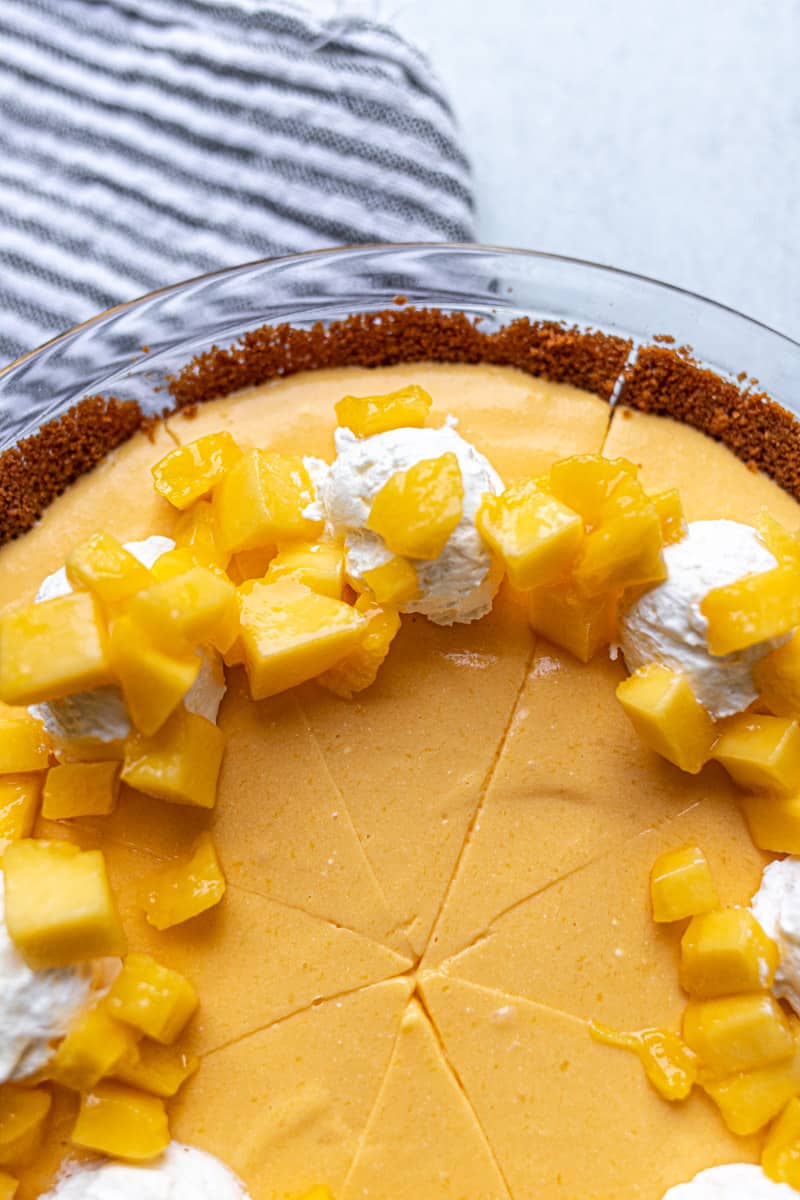
If you plan on sitting down for dessert soon, let it be with this Mango Pie.
Its luxuriously silky filling sets in a salted Biscoff crust, and is topped with dollops of cloudlike whipped cream. Beyond baking the crust, there’s no oven involved. It’s a pie that truly embraces summer, from its sunshine-yellow custard to its chilled temperature. On a hot day, this pie floods the senses with fresh mango, capturing the fruit’s buttery texture and sticky sweetness—an ode to the glorious dripping of mango juice down the chin and wrist.

How to Make Mango Pie
The hallmark of this Mango Pie is all in its namesake—in-season mangoes. Though canned mango puree is an excellent substitute during the off-season, fresh Ataulfo mangoes are non-negotiable whenever available. To make a mango puree, simply slice the fruit away from the pit and pulse in a food processor or blender until completely smooth. The result is a thick, delectably concentrated puree.
To make the Mango Pie custard, simply combine the puree with lime juice and gelatin, then fold in whipped cream and sweetened condensed milk. Whipped with a couple of tablespoons of sugar, this airy addition gives the mango puree its lift and texture. The honey-like sweetness of mango glows perfectly against this rich, milky backdrop—a subtle nod to the classic combination of peaches and cream.
Finally, chill the pie for at least 2 hours to allow the gelatin to set. Dollop with whipped cream, and top with extra diced mango.

Ataulfo Mangoes versus Red Mangoes
Ataulfo Mangoes, also known as honey or champagne mangoes, have vibrant yellow skin and are both smaller and sweeter than red mangoes. What makes them ideal for this Mango Pie recipe is their creamy interior. Significantly less fibrous than their counterparts, the texture of Ataulfo mangoes lends itself to a velvety puree.

The Best Way to Slice a Mango
For this Mango Pie, slicing your mango is easy. Simply set the mango on your cutting board vertically in front of you, then gently slice your knife through the mango slightly off-center to avoid the pit. Set aside your first mango cheek, then rotate the mango 180-degress. Remove the second cheek from the pit by again slicing through the mango slightly off-center. You’ll be left with three pieces: a 1-inch center (the pit), and two cheeks. Trim away any additional mango from the center, then toss the pit. Finally, remove the skin from each mango piece. Glide a large spoon between the mango fruit and the skin, rotating the fruit in the palm of your hand. You can now add the fruit to the food processor to make the puree or dice the fruit into small pieces to garnish the Mango Pie.
More Delicious Pie Recipes
- Brownie Pecan Pie
- Four & Twenty Blackbirds Salty Honey Pie
- Aunty Em’s Saucy Apple Crumble Pie
- Coconut pumpkin pie
- Dahlia Bakery triple coconut cream pie
- Tupelo Honey Chocolate Pecan Pie
Mango Pie
Ingredients
Biscoff Cookie Crust
- 6 ounces Biscoff cookies
- 4 tablespoons unsalted butter, melted
- ½ teaspoon kosher salt
Mango Custard
- 5-7 Ataulfo mangoes*, plus extra for serving
- 2 tablespoons lime juice, about 1 lime
- Pinch of salt
- 1 cup heavy whipping cream
- ¼ cup sweetened condensed milk
- 2 tablespoons granulated sugar
- ¼ cup boiling water
- 1 pack unflavored gelatin, approx. 7 grams or 2½ teaspoons
- Extra mango, for serving
Instructions
Make the Crust
- Preheat the oven to 350° Fahrenheit. In the bowl of a food processor, pulse the Biscoff cookies until they resemble coarse sand. Add the salt and melted butter, then pulse again until the mixture begins clumping together. Transfer to an 8-inch pie plate, pressing into an even crust about ¼ inch thick all the way around and up the sides of the pie plate. Bake for 10-12 minutes, or until the crust deepens in color and is very aromatic. Remove from the oven and allow to cool to room temperature.
Prepare the Mango Custard
- As the crust cools, make the mango custard. Peel and roughly chop each mango, adding them to the bowl of the previously used food processor. Pulse to break down the mango, then steadily chop at high speed until the mango is pureed and completely smooth. Measure 2 cups of puree, discarding any remaining puree. Transfer the mango puree to a medium bowl, then add the lime juice and a pinch of salt. Mix to combine, and set aside.
- In the bowl of a stand mixer, add the heavy whipping cream and sugar. Using a whisk attachment, beat on medium-high speed until firm peaks form. Divide the mixture in half, storing one half in the fridge and setting the other half aside on the counter.
- Prepare the gelatin by adding the boiling water to a small bowl and sprinkling the pack of gelatin over the surface. Whisk constantly until the gelatin completely dissolves in the water, then add the mixture to the bowl of mango puree. Mix until completely combined. Finally, add the set-aside whipped cream and the sweetened condensed milk to the mango puree, gently folding with a spatula until no streaks remain.
Chill and Assemble
- Pour the mango custard into the cooled crust. Cover the pie with plastic wrap (don't let the plastic wrap rest on the custard) and allow to chill in the fridge for a minimum of 2 hours, or up to overnight. When ready to serve, slice the pie into 8 pieces, wiping the knife between cuts for clean slices. Top each slice with a dollop of the extra whipped cream, and add spoonfuls of small diced mango to each piece. Enjoy cold.
Notes
Did you make this recipe?
Tag @femalefoodie so we can see what you’re cooking!

